Showing posts with label colour-order. Show all posts

Saturday, 17 March 2012

the finished rainbow playmat

My intention was that it could be used as a thin quilt and double up as a playmat. I now think it wouldn't make a particularly cozy quilt, so it's just a playmat. A super cool playmat.

So, these were the fabrics I chose back in September. They didn't come as part of a set. I just had a rummage in the 'fat quarter' bin for the brights and was most pleased with what I found.


And here's what I did with them next:


I had bought some cheap fleece a while back, so used that as the middle/inside of the playmat (you quilters are probably flinching at my having made it up as I went along). I kept the back plain, as it's only going to be on the floor anyway.


I ran it through the machine and stitched some wavy lines. But not too wavy.


I couldn't decide on which colour bias tape to use, so I went with four. Orange spotty:


Plain purple:


Blue spotty:


And plain green, which you can see the first picture of the finished playmat.

It was first used when O was a month old and I did a one month photo shoot with him lying on the mat (with plenty of cushions underneath to support him).


Now, it's used as an actual playmat. He has fun on there, which makes me happy.


Thursday, 12 January 2012

rainbow quilt/playmat

So, you may remember that a while ago I bought some gorgeous fabrics with the intention of making a quilt for the baby. Not knowing whether we were having a girl or a boy, I wanted to go gender-neutral while still being fun, which is why I went for the brights.  I made a start on it pretty much immediately and here's what the first side looked like:


I have since finished it, but need to photograph it. Well, actually, I have sort of photographed it, but there's a baby on it in every picture. So I'll take one of quilt/playmat minus baby to share with you. I'm rather pleased with it.


Friday, 21 October 2011

rainbow fabric stack

Rainbow quilt, coming soon...


Wednesday, 12 October 2011

Melty Melty Wall Art

There has been a lot going on lately - lots of colourful fun things have been made, a nursery has been decorated and Mr Pippa made some art. Photos have been taken and blog posts will be posted.

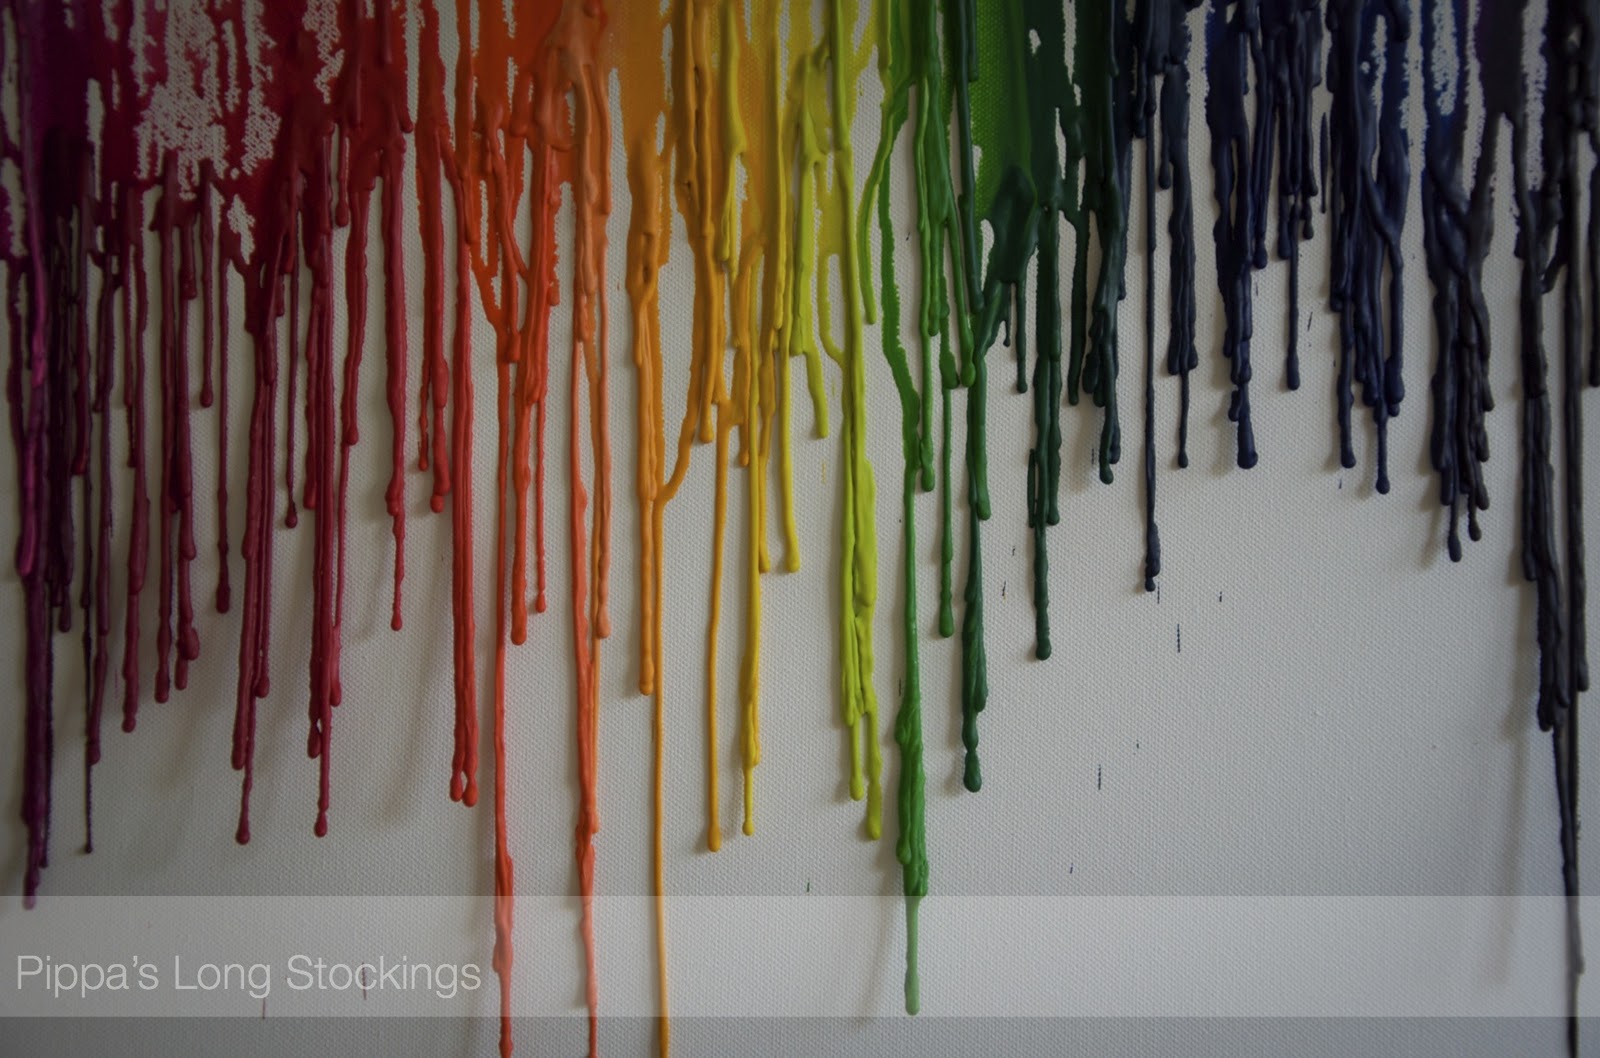
For today, some melted crayon wall art:


It's been all over Pinterest and it was only a matter of time before I had a go at it - you know how much I love things in colour-order.


I adhered the crayons (still in their wrappers) to the canvas with a hot glue gun. Once they were all in place, I got the heat gun out and gently heated a section of crayons, allowing the wax to drip down.

I tested this out on a small canvas before venturing to this one. On the small canvas, I used cheaper crayons. I have no idea why but that one worked better than this one. I'll add a photo of it to this post so that you can see what I mean.


See how there seems to be some kind of resistance going on in those purples? That melted wax does not want to stick the the canvas. Very odd.

Currently, it's on the wall of the nursery. I'm not sure I'll end up keeping it long-term because it went a bit weird:


As the melted wax dried, it lifted off the canvas. I had already thought that it wasn't the most durable piece of art for the wall and probably better to display it in a box frame, if one wanted to keep it.


Still looks cool though. It can stay in the nursery for a bit longer, I think.


Monday, 25 July 2011

Pinterest Pins {rooms for tiny people}

Pinterest really is a marvellous way to waste time looking at pretty things.

Lately, I've been looking at things like this...

                                            Source: blog.puffling.com.au via Pippa on Pinterest


...and this. You know I love a colour-coded bookshelf.

                                                         Source: ohdeedoh.com via Pippa on Pinterest


...and this.

                                            Source: thebooandtheboy.com via Pippa on Pinterest


That suspended plane had given me an idea.

And how about this for displaying books: an Ikea spice rack.


Nice little nook.

                                                Source: flickr.com via Pippa on Pinterest


...and this one just made me smile.

                                  Source: weheartit.com via Pippa on Pinterest


That was my way of announcing news. Can you guess what it is?

That's right, I'm growing an alphabet tree on a bookshelf! Um, no.


Friday, 15 July 2011

Making Your Own Rainbow Cake

So, you'd like to make your own rainbow cake? Great! (If you have no interest whatsoever, you're still allowed to read this post. Just don't tell too many people about your lack of interest or they might think you're weird. Who wouldn't want to make a cake as cool as this one? Don't answer that.)


Someone else might have a much more straightforward tutorial for you, but this is how I made mine.

First, choose a plain vanilla sponge recipe which works for you, and double the quantities.

What you'll need:
1-5 round baking tins (depending on what shape you want it and how many layers you'd like) of equal size
Food colouring (I chose yellow, green, blue, purple and pink)
Cling film/plastic food wrap (or whatever you want to call it)
Ingredients for the cakes
Buttercream icing
Lemon curd or apricot jam (adds a little something to the layers but the light colour doesn't interfere with the carefully thought-out colour scheme)

So, here's the recipe I used (I've doubled the quantities, which makes 6 layers):

8 eggs
450g unsalted butter, at room temperature
450g caster sugar
420g self-raising flour, sifted
50g cornflour
2 teaspoons baking podwer
2 teaspoons vanilla extract
6 tablespoons milk

Preheat the oven to 180 degrees C (or 160 for a fan-assisted oven).

Line each baking tray with greaseproof paper and spread a thin layer of butter around the inside (this will help the cakes to pop out easily after baking).

In a mixing bowl, cream the butter and sugar with an electric hand mixer until the mixture is pale and smooth. Mix the dry ingredients in a separate bowl. Add the eggs and dry ingredients to the wet mixture, alternating between the eggs and dry mixture, mixing well after each addition. Add the vanilla extract and milk. Don't over-beat the mixture or you'll take the air out of the cakes. Apparently. I don't know.

Divide the mixture equally into 6 bowls (one bowl for each layer). One bowl at a time, add food colouring to the cake mixture, stirring well. Add as much food colouring as you like.

Pour each bowl of cake mixture into its own baking tin. I only had 3 baking tins the same size, so I baked 3, then washed them up and used them again. You didn't need to know that but I just wanted to remind you that you don't need to go out and buy 6 baking tins.

Bake in the oven for about 25 minutes until raised and and golden brown. The whole 'golden brown' thing may be difficult to read with all of the food colouring, so stick a skewer into the centre of one of the cakes. If it comes out clean, the cake is cooked. When I say clean, I mean no uncooked cake mix on there. Don't go sticking a dirty skewer in there, thinking it'll magically come out clean when the cake is cooked.

Allow the cakes to cool in their tins for about 10 minutes before turning them out onto a wire rack to cool. Remove the greaseproof paper from the bases of the cakes.

At this stage, the cakes probably won't look that appealing. The green and blue cakes will probably look a bit mouldy. Don't be discouraged, my friend. It'll look great once it's cut into. Well, it should. I can't be held responsible for any baking failures.

 [To encourage you: check out the dodgy look of the outside of this cake. Concerning, right? Oh, but break it open and it's bright and magical.]

Before assembling this cake, a word of advice:
This cake doesn't transport well if you want the cake to not look like the leaning tower of Pisa. If you're planning on taking this cake to a party or the zoo or something, you may prefer to assemble it there. In which case, wrap each sponge cake in cling film (make sure they've fully cooled). This will stop the cakes from sticking to each other.

Time to assemble the cakes.

Arrange them into the colour order you'd like. Spread the lemon curd onto the top of the first layer of the cake. On the underside of the next layer, spread the buttercream icing and lower onto the first layer. Repeat with each layer. Unless you really don't want any jam-type stuff, in which case just stick with the buttercream.

Cover the outside of the cake with buttercream and decorate with sweets, if you want.


Have you done it yet? Leave me links to your cakes!

Saturday, 16 April 2011

Rainbow Cake

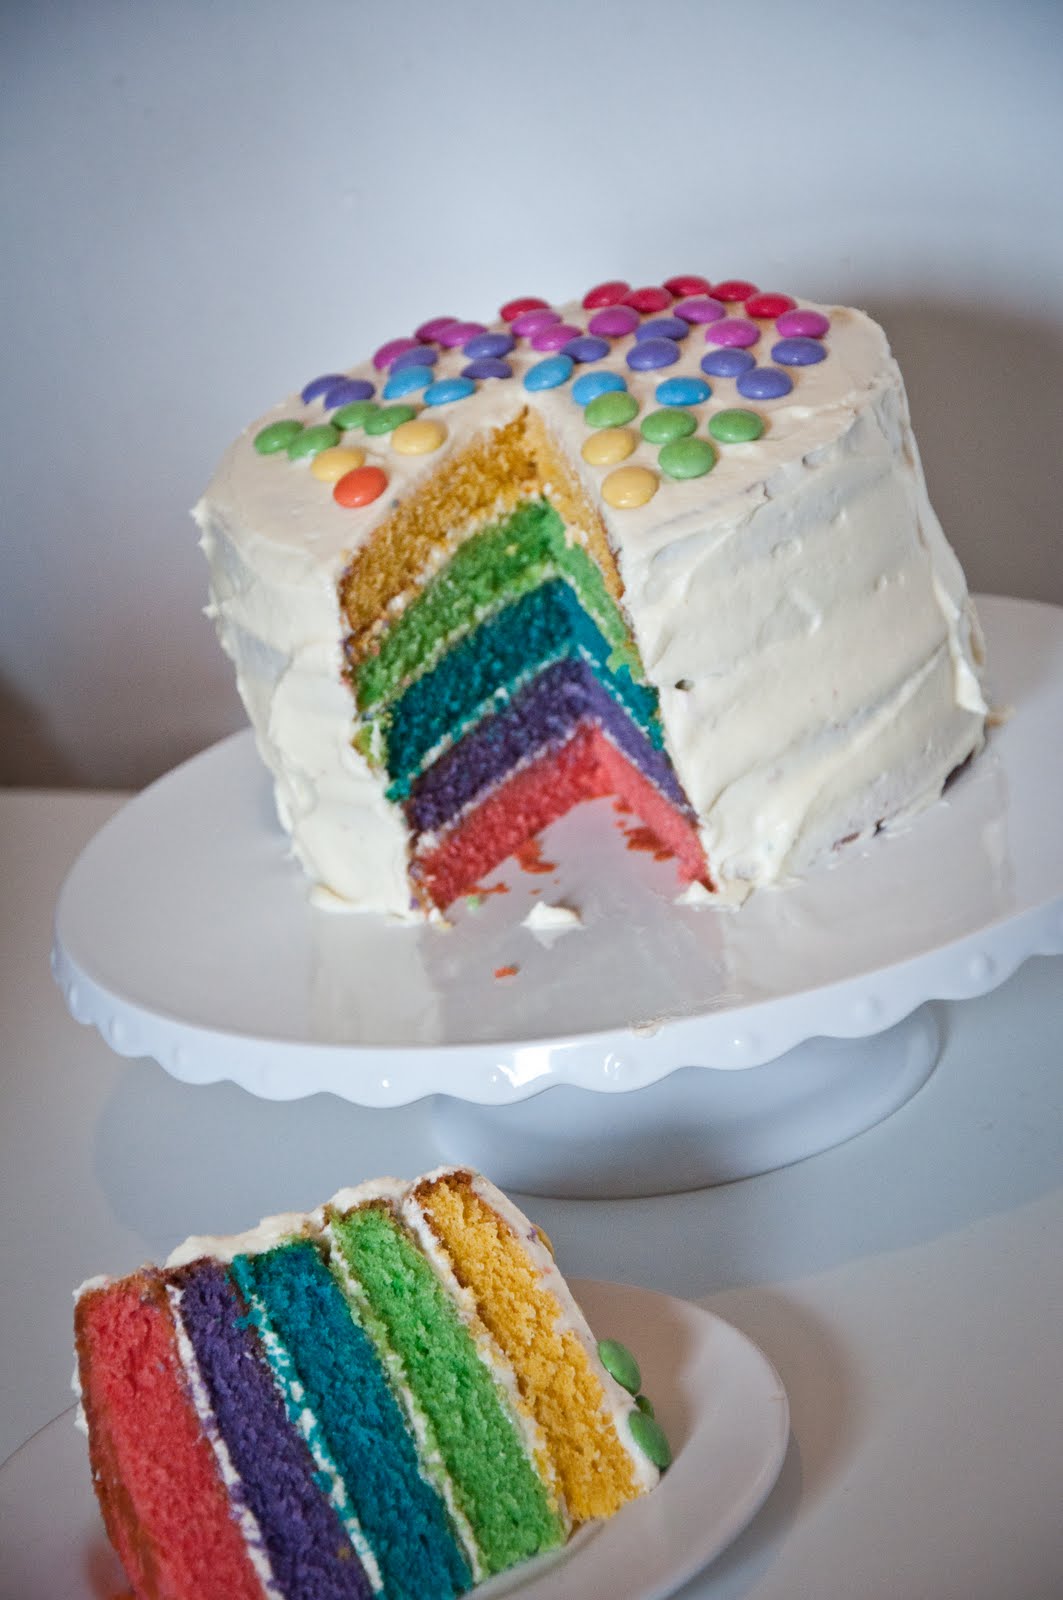
Inspired by this (yes, Pinterest again), I decided to make a rainbow cake for Mr Pippa's birthday.


This was my first and only attempt. No pressure, then.


Knowing that it would look quite plain on the outside, I added some colourful chocolates (which, by the way, look great on the day but not so great the next day, when they've gone a bit damp and the colour goes a bit funny).

You may or may not be interested to know (I'm telling you whether you're interested or not so let's just pretend that you are) that this cake was a surprise for Mr Pippa. Seeing the cake, above, achieved a smile and a "cool".

Seeing a slice taken out achieved gasps and "Wow". 


It's a party within a cake.


Win.


I'll share in the next post how I did it.

Monday, 7 March 2011

Patchwork Blanket {attaching the squares}


About a year ago, I started my patchwork blanket. The first step was the most enjoyable crochet I've ever done: COLOURFUL SQUARES. 


I knew that I should really start sewing them together but that seemed like a massive, and very dull, task. So, instead of doing that, I used some of the squares to make a little laptop rug.


Since then, the many crochet squares have just been sitting around, waiting to be joined together. Until this weekend.


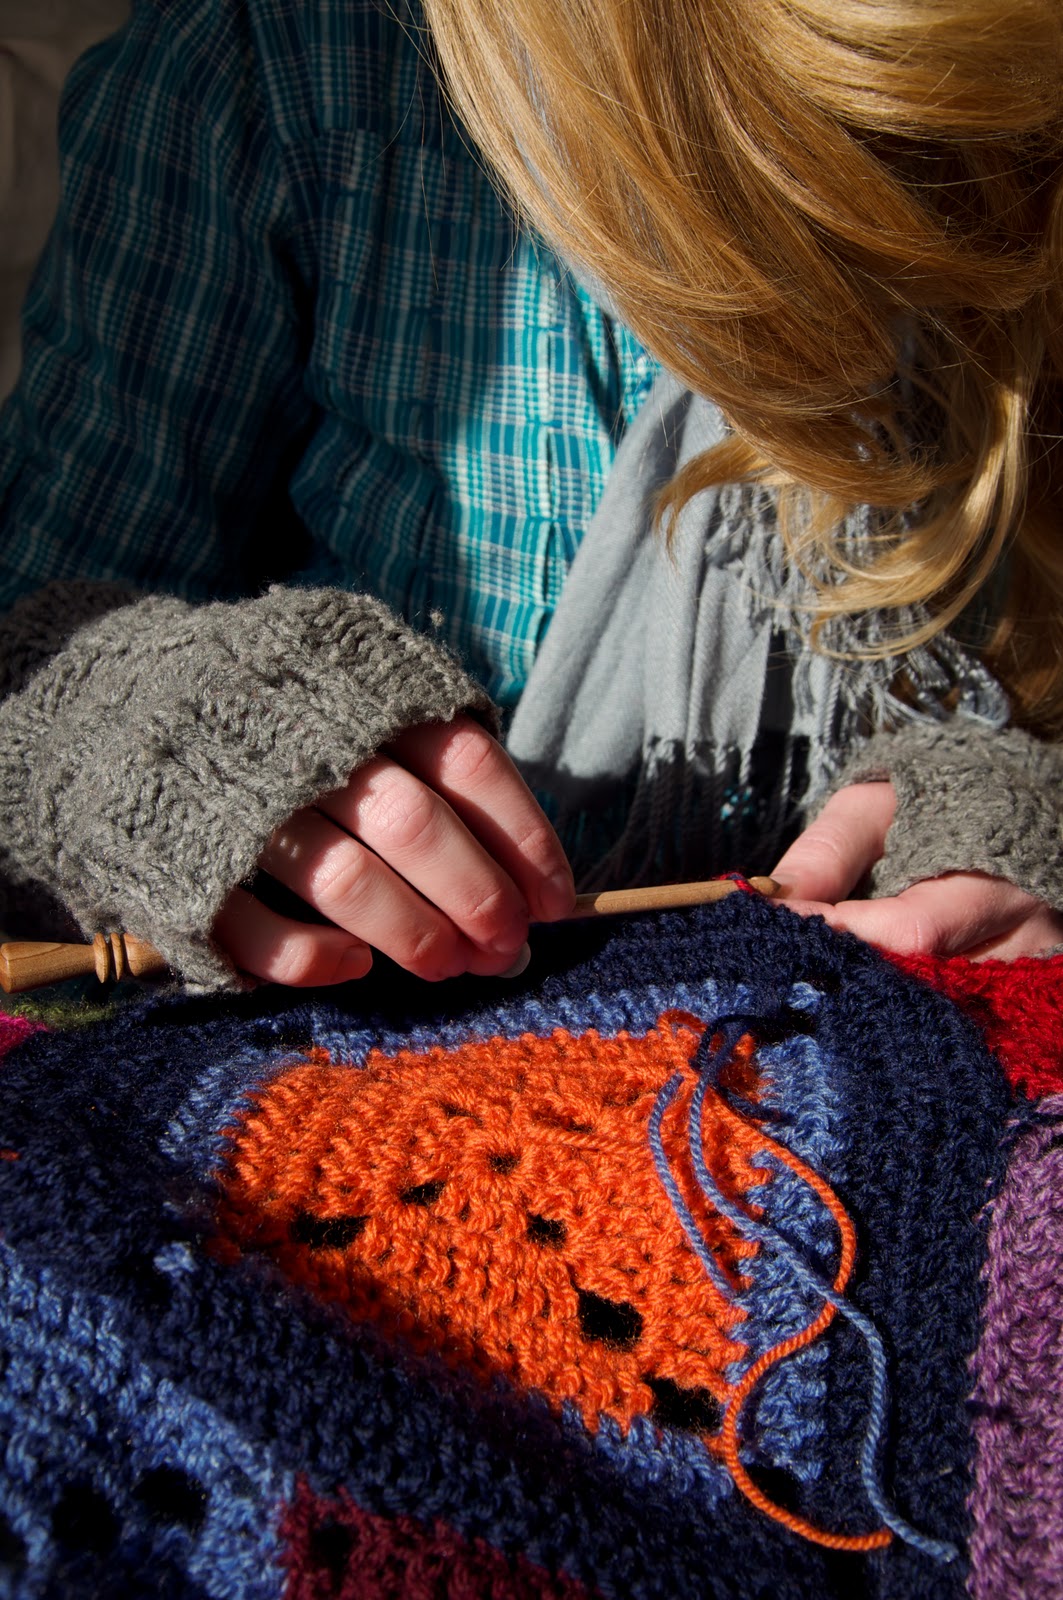
I wanted the stitching to be hidden but, as each square has a different border, there's no neutral colour yarn to choose. So, I decided to leave super-long tails so that each square could be attached using the tail. So far, so good: it's blending in nicely. There are some squares where the tails could have been longer so more yarn in that colour will need to be used.


My hair looks really short in this picture. I don't know why.


Good light is essential for this kind of work. And although it's not as instantly satisfying as making the squares, I'm enjoying it more than I thought I would.


Another nice thing about putting it together is that it keeps my lap warm while I'm working.

My advice to you if you're thinking of embarking on a crochet patchwork blanket:
  • Do it. It's enjoyable and even if your squares are a bit wonky, it doesn't matter because that's the style of the blanket.
  • Leave the tails of the last colour (the final border of the square) really long if you want your stitching to be hidden.
  • Don't leave your squares sitting in a box for months. It won't make itself.
  • This blanket shouldn't take you a year. The only reason it's taken me so long is that I'm not disciplined with my creative projects. 
Have you made one of these blankets? Any advice you could offer me?

Monday, 7 February 2011

February baby shower

Event: baby shower {it's a boy}
Colour scheme: purple, bright blue, kiwi green and white
Soundtrack: Vitamin String Quartet covering Boys Don't Cry by The Cure
Dress code: dressy
Cocktails (non-alcoholic, obviously) and finger food, followed by games, followed by tea and cake, followed by present unwrapping, followed by more tea and cake, followed by praying.
A great evening.


Clothesline bunting, of course (see here if you'd like to make this yourself).


On the team of decorators, we had a maths teacher. As it was her job to put up the clothesline bunting, she did, of course, have to ensure that there was a regular pattern with the bibs and vests and nappies. Whereas I was all about putting things into some kind of colour order.


When pushing M&Ms into peanut oat cookies (which are delicious and dangerously moreish), I couldn't allow myself to use the reds or yellows or browns because they weren't in the colour scheme. I don't think anyone noticed. I did though. And it pleased me.


The train sets came in handy once again for decorating the food table (and doubling up as a gift to the baby).


Alas, it wasn't quite possible to stick to the colour scheme when it came to the drinks umbrellas. Although, I made sure they were arranged into a colour order, of course (notice that the straws are in the colour scheme).


In the whole of my baking life, I've never had so much praise over my cakes before. The way everyone was talking, you'd think I'd put crack into them or something. No, really. There were gasps and groans. I may or may not share the recipe with you. As it's my own, I'm wondering if I should keep it a secret. We'll see. Do you like parma violets?


And, so that people knew which cakes were which, I put little flags/signs on the table (the balloon sticks and cups came it very handy for displaying them. I'll keep that in mind for next time).


And, what's a baby shower without a nappy cake?


Shame I couldn't get the paper planes done in time. But then, I think there was plenty going on.